Showing posts with label Toddler crafts. Show all posts

Thursday, December 13, 2012

Christmas & Winter Crafts for Kids

 We are in the full swing of Christmas here!  I'm busy working on my December Daily album and we are jet-setting up and down the east coast to visit friends and family.  Lots going on and so little time!  We've managed to fit in some fun Christmas crafts and activities but I haven't found the time to upload the pictures yet.  Hopefully soon.  In the meantime, here are some crafts from last year to tide you over!  (You know...for the all two of you who read my blog!)  Links are after each picture.

Hope you all are in the Christmas spirit and are enjoying life as much as we are!!


Tuesday, November 20, 2012

Turkey Handprint Picture


Our "Sunday Funday" consisted of lots of arts and crafts!  This was one of the super cute things we made!  They are proudly being hung in our house (and even sometimes worn as necklaces!!).  Thanks again to Pinterest for the awesome idea!!  


The kids started by painting their picture boards (just cut down cardboard) all different Fall colors.  

Drew loves to paint!!


While we waited for the cardboard to dry (it doesn't take long if you do a thin coat), we made our hand print turkeys.  Lots of laughing from the tickling of the paint brush!!


And while everything was drying, Anna helped me finish up the little "Happy Thanksgiving" cards and  lace the pasta on our strings.


When all the paint was dry, I attached the pasta laced string to the cardboard and glued down our turkey hand print, added nose, eyes and legs and little label.  I love them so much!


Monday, November 19, 2012

Thanksgiving Turkey Magnet


This is such a simple little craft but my 3 1/2 year old really enjoying making it so I thought I would share!  

This little guy is hanging proudly on our refrigerator right now and keeps getting moved around by some little tiny hands!!  


Supplies needed:
Wooden discs of two sizes (or circles cut from cardboard)
Brown paint
Feathers of various colors
Googly eyes
Red and orange construction paper
Tape or glue


Start by painting your wooden discs or cut circles brown.


After your paint has dried, add the feathers to the back of the larger disc.  We are all out of liquid glue...akkkk..so we used washi tape.  It worked great!


Then add your smaller circle, googly eyes, triangle nose and waddle.


I attached a little adhesive magnet to the back of our turkey so he could hang on the side of our fridge.


Happy crafting everyone!!


Monday, October 22, 2012

Halloween Cookie Cutter Paintings


The kids and I did some Halloween cookie cutter paintings one rainy afternoon.  It's an easy way to pass some of that lazy day time!!  


Thursday, October 4, 2012

Simple Pumpkin Craft

Well, it's officially October and pumpkins are popping up everywhere!  

This is a fun little pumpkin activity we've done a number of times already this year.  My wall in my kitchen is covered with cute little pumpkins.  This is a great activity for small kids and big kids alike!


Supplies needed:
paper
orange paint & paint brush
black construction paper
glue


Put a little bit of paint in a cup and then invite your child over to paint a "pumpkin" on a piece of paper. 


For my son (22 months...yikes), I painted a circle for him and then let him paint inside the pumpkin.


Then cut out your faces for your pumpkins.  (I just cut a variety of shapes for eyes, noses, months and stems.)


Then let your kids decorate their pumpkins anyway they like.


(This month soon became a pumpkin crown).


Wednesday, August 8, 2012

Sparkling Butterflies


If you follow along with us, I'm sure you know by now how much my little girl loves some glitter.  Seriously....she pretty much requests it with any craft or painting we do.

Today I'm sharing a fun sparkly butterfly craft we did....and it includes lots of glitter.


Supplies needed:
foam
paint
glitter
paper plate


Start by cutting out a butterfly shape from your foam.
Then paint all over your butterfly shape.


Then press your painted butterfly right into your big ole pile of glitter. 


Let them dry and then help them fly!!

Happy crafting!

Tuesday, July 17, 2012

Making Fireworks

To celebrate Fourth of July this year, Anna and I made fireworks.  They were pretty fun to make and I'm pretty sure Anna could have used up all our glitter on these fireworks!

(Idea found at Juggling with Kids)


Start by taking two pipe cleaners, folding them in half and then twisting the end that is looped.  Once your end is twisted, separate the other ends of the pipe cleaner to make a "firework" design.


Then dip your "firework" in your paint (we used red and blue).


And press it onto your paper.


Dip your firework in the other color and press onto the first shape made.


Keep dipping and pressing until you have a full firework.
You can add glitter if you'd like!  


Happy 4th!

Tuesday, May 29, 2012

Summer Fun Crafts for Preschoolers


I am soooo looking forward to summer!!  I'm starting to get our "summer-list-o-fun" organized and I'm having so much fun!  Here are some ideas that my little ones differently enjoyed and will be part of our summer activities.


Check out these super fun ideas!!  Click on the link to be taken directly to the corresponding post!

Tissue Paper Painting


And are you following Playing House on Facebook?  Click here to "like" us and follow along!

Thursday, May 17, 2012

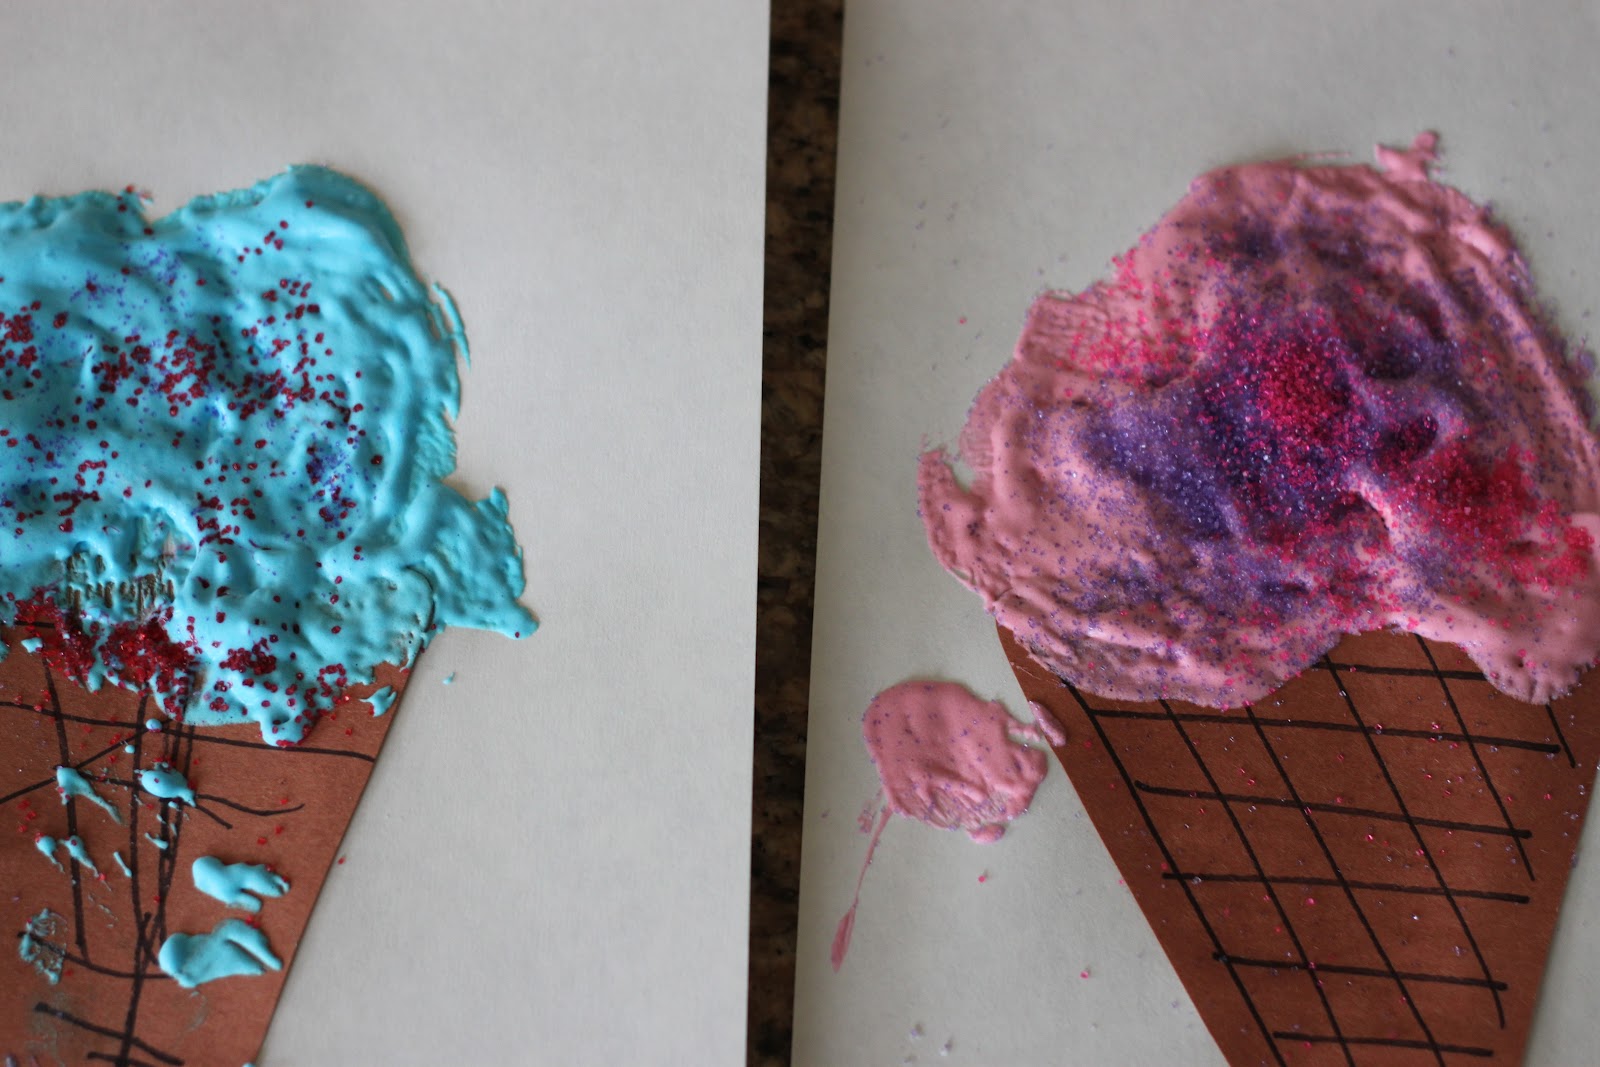
Ice Cream Cones Craft for Kids


Cookies and ice cream in one week!  We definitely have a sweet tooth at our house!


Luckily, this little treat is just fun and calorie free!!

Supplies needed:
Shaving cream
Glue
Food coloring
Sprinkles or glitter (optional)
Construction paper


Start by mixing together some shaving cream, glue and a drop or two of your food coloring.  I just eyeballed the amount....but i was about half shaving cream and half glue.  Have your child mix that together while you cut out an ice cream cone and glue it onto a piece of construction paper.


Let your kiddo play with the cool shaving cream/glue mixture and have them add their "ice cream" to their cone.  (And the mixture is really cool, by the way!!)


If you have a sprinkle/glitter lover in your house too, hand them over and let them sprinkle away.  I'm pretty sure this was my daughter's favorite part.  She would sprinkle on a piece of paper if I would let her!


Invite the wee little ones over too for some fun.


And again, if you are daring, hand over the sprinkles!


Ice cream, anyone?


And are you following Playing House on Facebook?  Click here to "like" us and follow along!


Monday, May 7, 2012

Playing with Baking Soda


Ever since we colored our Easter eggs using a mixture of baking soda, food coloring and vinegar Sweet Girl has been dying to do them again.  And since I didn't really feel like dying more eggs (such a mess!) I decided to just let her play around with a big dish of baking soda and some food coloring mixed with vinegar.


She used eye droppers to drop some of the food coloring/vinegar mix into the baking soda pan.  She LOVED watching the baking soda foam up....and the colors were great. 


She played with this until all the cups of food coloring were empty (note to self....use larger cups next time!!)

Have fun!!

Friday, May 4, 2012

Toddler Art: Painting Rocks


Do your kids love rocks???  Mine do!!

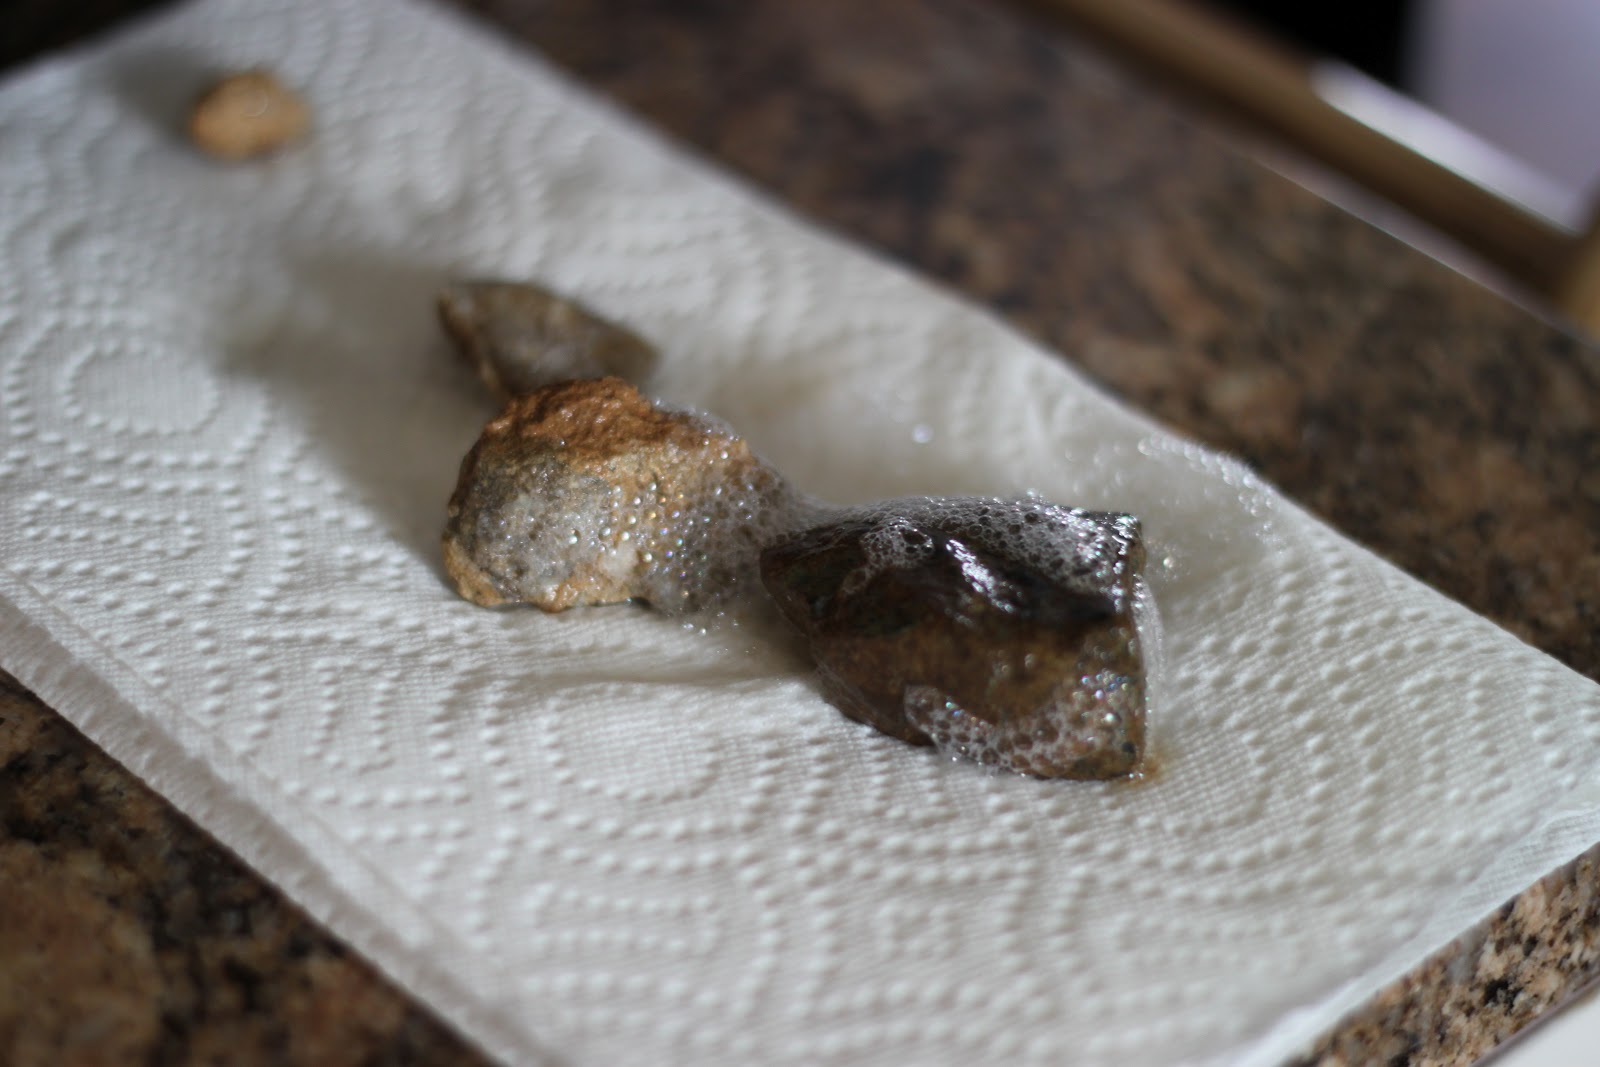
Sweet Girl is obsessed with picking up rocks from our yard right now.  The other she asked if she could wash them and paint them, so we did.  Who would have thought that a three-year old would have had so much fun!!


Washing the rocks just may have been her favorite part!!  


I set out some paints for her and she just painted away for about 30 minutes.


I helped her flip them over so she could paint both sides.


Then she decided to do some "paper towel art".  

Ahh...kids and rocks!!

Related Posts Plugin for WordPress, Blogger...