Friday, March 30, 2012

Celebrating Three!


Happy birthday my sweet princess!!  I can't believe you are already three years old.  Where did the last three years go?  You bring so much joy, fun and laughter into all of our lives. 


All about you right now....
You love the colors pink and purple.
You love the Disney princesses, especially Ariel.
You play dress up all day long and usually change outfits three or four times each day.
You love to dance.
You love reading books.
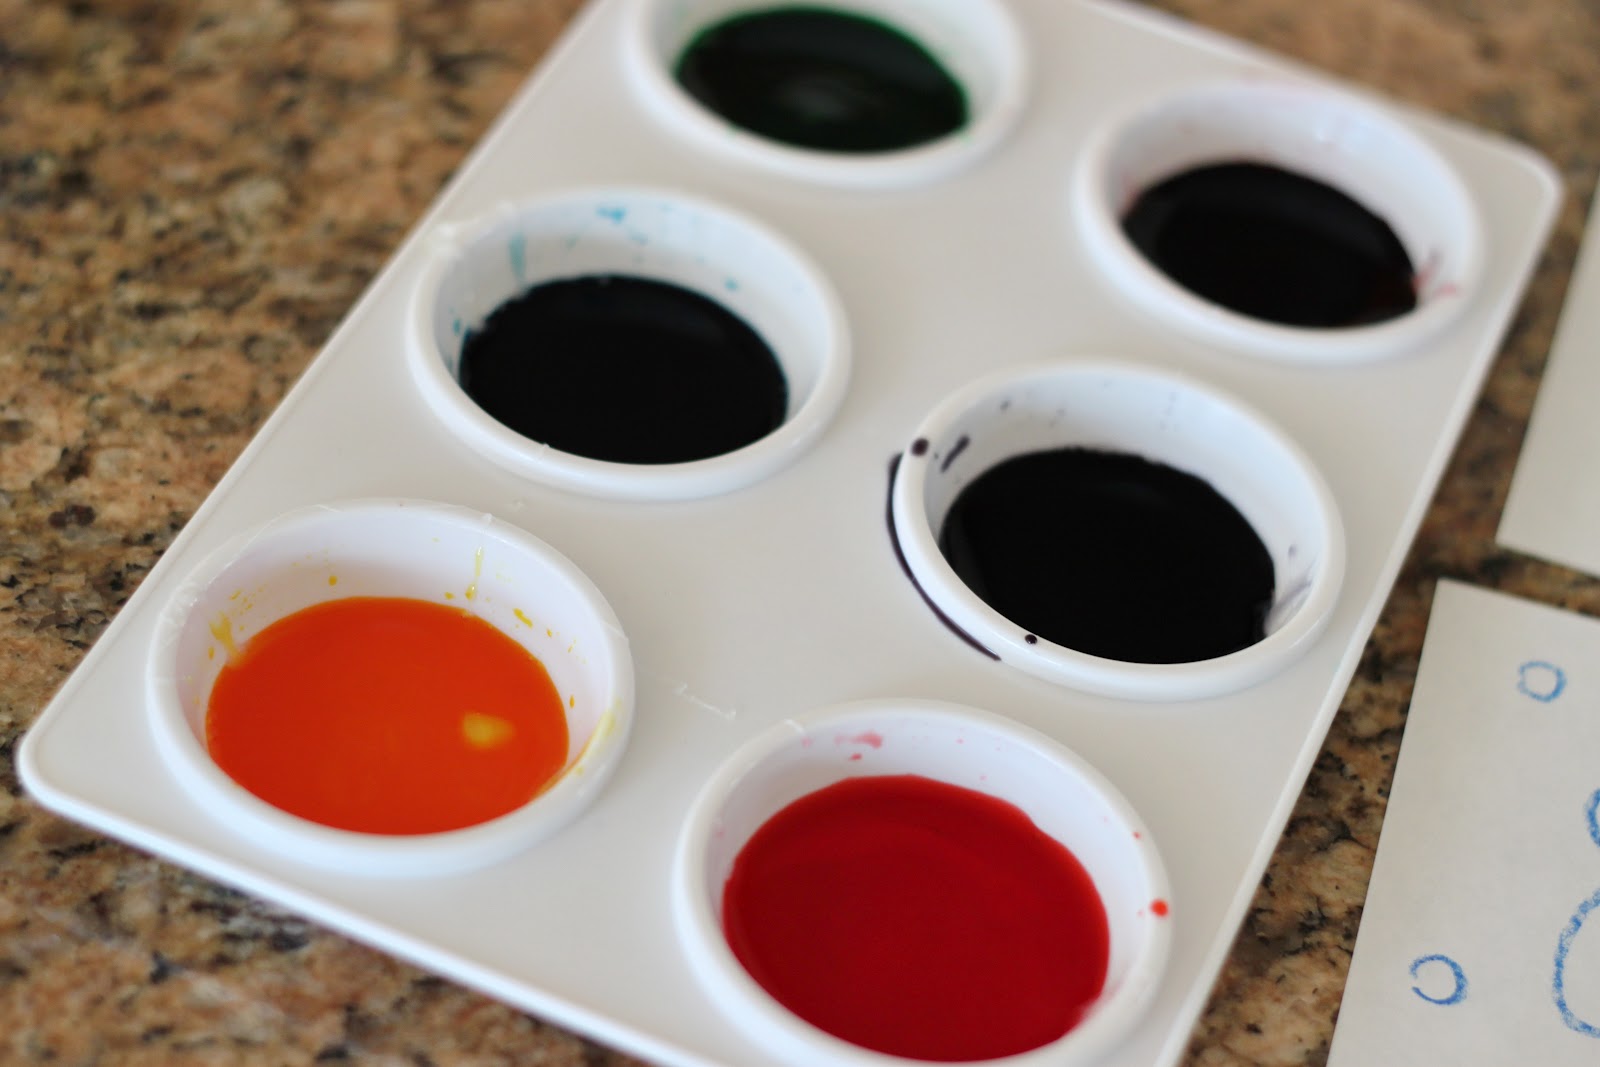
You love to paint.
You love fruit snacks, pink doughnuts, cupcakes and ice cream.
You love playing games on the iPad.
You love to sing.
You talk non-stop all day long.
You don't take naps anymore and usually cry everytime we try to get you to have some rest time.
You tell every person you meet that you are going to Disney World.

We love you so much, my sweet girl!


Thursday, March 29, 2012

Toddler Art - Corn Starch Painting

We are having so much fun trying out all these different art activities.  This activity we did while we were on vacation at the beach.  It was something fun for Sweet Girl to do outside while Little Man napped.  We will definitely be doing this again soon!

Supplies needed:
Muffin tin
Corn starch
Water
Food coloring
Paint brushes


Start by adding a few spoonfuls of the cornstarch to the muffin tin. (I just eyeballed it...)  Then add a few drops of food coloring.  I recommend taking the muffin tin outside and then adding the water.....just to make sure you don't spill it all through your house.


Add your water once you get outside and then stir up the cornstarch/food coloring mixture.

And paint away.....


(Sweet Girl liked rinsing her brush off in between colors)


Watch out for purple feet!!
(Side note....Since we were at a vacation rental, I was a little nervous after Sweet Girl painted most of the sidewalk with the paint so I rushed really quickly to wash it off to make sure it wouldn't stain.  And luckily, it came right off....even the paint that dried on the sidewalk came off easily with water.)


And are you following Playing House on Facebook?  Click here to "like" us and follow along!


Friday, March 23, 2012

Toddler Art: Painting with Corn Syrup


I loved using the corn syrup paint (and Sweet Girl loved it too).  There is something really cool about how the paint/syrup mixture glides onto the paper.  And I loved how it dries all shiny and pretty.  Thank you so much to eighteen25 for the awesome idea!!


Supplies needed:
Paint tray or cups
Food coloring
Light corn syrup
Paper
Paint brushes

Directions:
Add about a tablespoon of your syrup into your paint tray or cups (I just eyeballed it).  Add a few drops of your food coloring to your syrup.  Stir the two together. (Note...I ended up adding a few drops of water to thin out our syrup a little.  I think my syrup was a little old.)


Start by having your little ones draw a picture or scribbles on a piece of paper.  This is Sweet Girl's picture of Ian and Olivia from the Olivia books.


(You can draw one too if you want!!)


Paint your pictures with the corn syrup paints.  Oh and ahh at how fun it is!


Let the pictures dry completely before touching.  It took ours a few hours to dry all the way.


Here are our finished masterpieces...


It's so cool!!  You have to try it!


And are you following Playing House on Facebook?  Click here to "like" us and follow along!

Thursday, March 22, 2012

Toddler Art: Wet on Wet Painting


I'm always looking for new art activities to try out so when I say this wet-on-wet painting activity at Simple Homeschool I wanted to try it out with Sweet Girl.


After soaking your paper in water for about 10 minuts, lay your paper onto either a waterproof board or your counter.  It needs to be left to dry wherever you paint it.


Then add your watercolors onto your wet surface. 
I think our colors were a little too watered down because they weren't as vibrant and I thought they would be.


Experiment with the watercolors.
Here Sweet Girl was splattering the watercolors onto the paper and watching them spread around.


Let it dry completely wherever you painted it and then admire.


And are you following Playing House on Facebook?  Click here to "like" us and follow along!

Wednesday, March 21, 2012

Rosemary Bread


This bread is to.die.for. Seriously. It is soooo easy to make and I literally ate half of the loaf right out of the oven. So delicious!

And this is definintely a bread for the "non-baker"....like myself. You just mix everything together, let it rise, divide the dough, let it rise again and bake. No kneading involved!!


My loaf turned out a little more like focaccia than an actual "loaf" of bread, but it didn't matter....I still ate half of it.

And it is so good dipped in some olive oil and basalmic vinegar!  Yum!


Mosy on over to The Creative Place for the recipe.

Tuesday, March 20, 2012

Project Life - Days of the Week Templates


I have another Project Life template for you today!!

I typically use Design A as my base pages.  These little 3x4 days of the week templates are perfect for those little pockets.


Click below for the zipped folder:


Enjoy and please drop me a line to let me know how you like them!

Happy "Project Life-ing" friends!


Monday, March 19, 2012

Fun with Playdough

We had some friends over one day last week and everyone wanted to play with playdough. 

I pulled out all our colors of playdough, some dishes, cups, buttons, straws, googly eyes, pom poms and popsicle sticks and everyone had fun playing!!  It's so fun to see the neat things kids make!


Little Man sticking straws into his playdough.


Sweet Girl adding some arms to a "monster".


The finished monster.


One of Sweet Girl's friends making a "button monster" complete with lots of googly eyes!


More straws and cups.


Popsicle stick monster.


Popsicle stick "Grover".


Stacking playdough.


And another button monster.

What about you guys??  How do your kiddos play with playdough???

Friday, March 16, 2012

Making Rainbows with Marbles

With St. Patrick's Day in mind this week, we decided to make some rainbows using marbles.  Both Sweet Girl and Little Man could get in on the action and I love that.  And it's a relatively "mess-free" activity for the most part!


Supplies needed:
Paint
Cups or paint tray
Marbles
Boxes
Paper


Start by adding paint to your cups or paint tray.  Then drop your marble into your paint and roll it around so it's completely covered with paint.


Add your marble to your box with your paper.


Let your little ones shake away!


I used a small box for Little Man and he loved hearing the marble roll around.

After a few shakes, remove your marble, drop it into another color and then repeat until you have finished all your colors.


Once you remove your papers, you will have a rainbow of colors!

Thursday, March 15, 2012

Squeeze Bottle Painting

One thing I love (and should do more often) is follow Sweet Girl's lead.  She told me exactly what she wanted to do for this fun little painting experiment.

To start, this is definintely not an activity for the obsessively clean person.  It did get a little messy, but for the most part it was okay.  Sweet Girl sure had fun!!


She spied this little squeeze bottles in our cabinets next to some of our paints and asked if she could paint with those.  Sure....why not??

Supplies:
Squeeze bottles (the red/yellow ones are from the dollar store; the other two were found in the baking section at our local craft store)
Paint
Paper
Water

The paint was a little too thick to move around easily in the squeeze bottles so I added just a tiny bit of water to thin it out.

You can make fun little paint splatters once you squeeze most of the paint out.  This was pretty messy (think hair, face, arms, clothes...so be careful.)


And you can mix and layer colors....


Or practice your letters..... That is only if your child can resist squeezing out all the paint at one time.

Or you can mix all the colors together...
How cool!! 
(Note...we used finger painting paper because it was little bit thicker than regular cardstock.  Our paint kind of pooled on the top and I had to carefully pick it up and throw it away.)


And then once you run out of paint, you can finger paint...

Have fun!


And are you following Playing House on Facebook?  Click here to "like" us and follow along!


Related Posts Plugin for WordPress, Blogger...