Wednesday, February 29, 2012

Our Family Portrait


A sweet glimpse into our family through the eyes of an almost three year old.  The girls loves to draw and I love watching how her pictures evolve!!  Here's to creativity!
(Baby Drew sure is a teeny-tiny baby, huh?  And she still includes our sweet doggie who pasted away last September.)

Tuesday, February 28, 2012

Oh No! Google Friend Connect is disappearing!


OH NO!!

As of March 1, Goggle Friend Connect (GFC) is disappearing from blogland....which means, if you follow along with Playing House through Google, you will no longer see my blog posts.

UPDATED:  Okay...if anyone out there is reading this, just wanted to clarify.  I'm not really sure, but I think that since my blog is a Blogger hosted blog, that my GFC will still be active and available....not 100% sure, though.  Regardless, I encourage you subscribe to my feed or have my posts sent directly to your email just in case!! 

If you follow along through GFC, please consider having my posts sent directly to your email or subscribe to my posts.  Check out the left sidebar to subscribe!

Thanks so much for reading!

Monday, February 27, 2012

Name Recognition

Sweet Girl knows how to recognize and spell her name but I thought it would be fun to use our cookie cutters to spell out her name. 

Here we used Model Magic, but you could also use playdough or clay for this fun little activity.

After she cut out her name with the cookie cutters and put the letters in the correct order, she used some beans just to trace each letter.


Then she painted them (again...we used Model Magic).


And added lots of sprinkles.

Once they were dry we played around with the letters.  I would mix up the letters and she would have to put them in the correct order (luckily for her she has a super easy name).  I also did a couple little games where I would take one letter away and she would have to tell me what letter was missing. 

Thursday, February 23, 2012

Color Mixing with Shaving Cream

Some days I don't mind getting messy with paint and watercolors, but some days I would rather keep everything nice and clean and mess free!

This activity turned out to be completely mess free and loads of fun for my girl!

Supplies needed:
Shaving cream
Ziploc bags
Food coloring or liquid watercolors


Fill your ziploc bag with shaving cream and add a few drops of your colors.

Then let the smashing begin and watch the colors mix!
(We made green!)


And purple!

Wednesday, February 22, 2012

Finger Painting - Color Mixing

Sweet Girl wanted to do some finger painting today so I decided to throw in a little learning lesson.


I set out a plate of blue paint (teal because that's all we had) and a plate of yellow paint.


She played around with the colors for a while.


Then she made some hand prints.


And she painted herself.


And made more hand prints.

While she was playing and having fun we talked about how you can mix two colors together to create new colors.  Painting yourself is always fun!

Tuesday, February 21, 2012

Bubble Painting


Sweet Girl and I did some bubble painting today and it was awesome!  Who doesn't like blowing bubbles in their drink???

Supplies needed:
Cups
Straws
Dish soap
Paper
Paint (we used liquid watercolors)


Combine dish soap and paint in a cup and stir together.  Then add your water in about a 2:1 ratio.


Add your straws and blow your bubbles!  Be sure to remind your little one not to accidentally drink the soap/paint/water mix.  Sweet Girl is almost three and she had no problem understanding not to drink it.


Make lots of bubbles and then top the cups with your paper.


Here is a picture of one of our creations.  We plan on using these to make some cards.

Monday, February 20, 2012

Stamping with Household Objects

Here are some ways to use your ordinary household objects for some stamping fun!

Stamping with the top of a laundry detergent bottle.


The top of the bottle is perfect for little hands.  It's easy to hold and you don't have to get messy if you don't want to.


Stamping with an egg carton


This made fun little shapes and also was pretty mess-free.
"Look mom...it's a circle in a square" was Sweet Girl's comment. 


Stamping with a fork.


Friday, February 17, 2012

Making Heart Faces - Toddler Craft


This is the last heart related activity....I promise!! 

These were just too cute not to share!


Nothing says "love" like a heart smiley face!

Thursday, February 16, 2012

Heart Butterfly Craft

This is a fun Valentine's craft we did earlier this week.  Like all our crafts, super easy!!

Supplies needed:
Cardstock of various colors
Scissors
Googly eyes
Glue
Popsicle sticks


Cut out large and small hearts from cardstock.


Glue your popsicle stick down on your paper and then add glue to the pointy end of your heart.


Glue the pointy end of the hearts together (to make a butterfly shape) and then glue on your small hearts onto the larger hearts.


Add the googly eyes and draw on your antennae (or you could use pipe cleaners).

Hang up and enjoy!

Wednesday, February 15, 2012

Marbled Hearts

We are big fans of shaving cream art at our house!  You can click here and here to see some of our other activities with shaving cream.

If you haven't tried it yet, you have to!!  It's so fun, so easy and oh so pretty once it's dry.

To celebrate everything "love" this year, Sweet Girl and I made shaving cream heart art.


All you need is shaving cream, a pan or cookie sheet, cardstock and your choice of food coloring.


Start by spraying your shaving cream all over your cookie sheet or pan.  Then add several drops of your food coloring.


Have your little one mix it up and make swirls.  We used the end of a grill brush, but you can use anything...even fingers and hands!


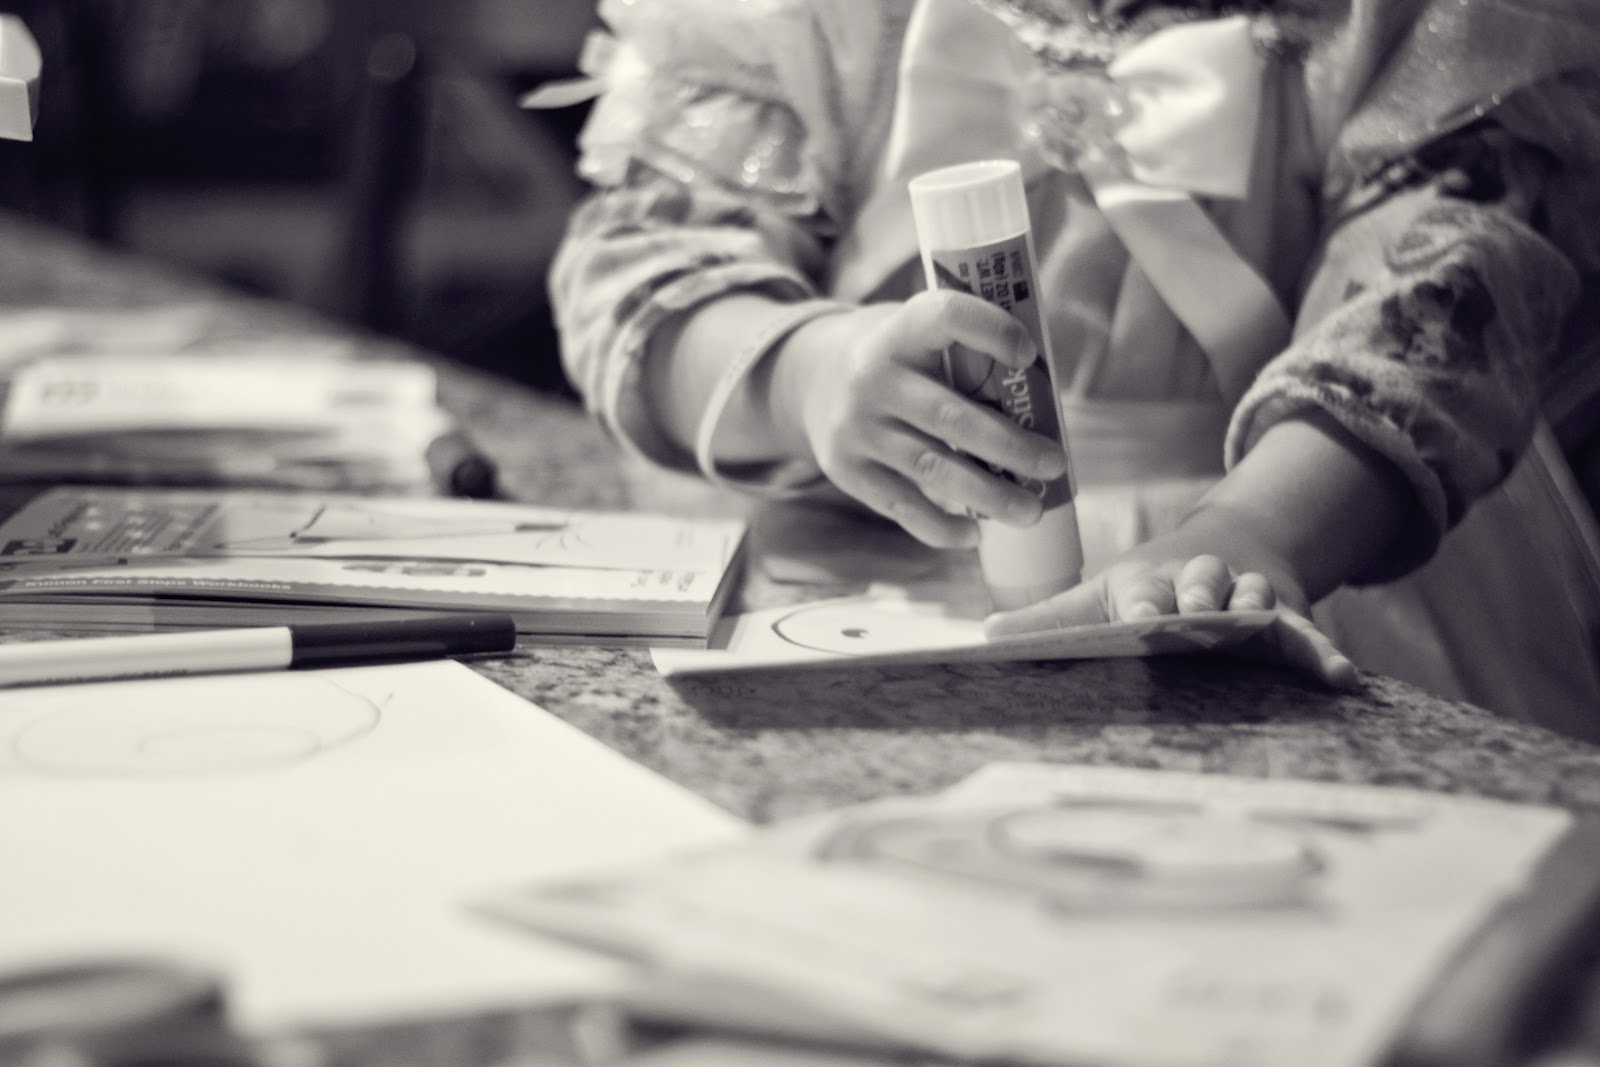
Press your paper (or heart in this case) into the shaving cream.  Then just pull it up slowly...let it sit for about 5 minutes or so and then scrap off all the extra shaving cream.  (I used a plastic knife to scrap).


Once it's dry, you have some beautiful artwork!! 

Monday, February 13, 2012

Valentine Heart Bird Feeders


Sweet Girl gets a subscription to High Five magazine from her Mimi (we love you Mimi!) and these heart bird feeders were featured as the activity this month.  They were fun and easy to make!


Start by cutting out a heart from a piece of cardboard.  Make a hole for your ribbon towards the top of the heart.


Then spread shortening over your cardboard hearts.  You can also use peanut butter if you don't have shortening.


Then press birdseed all over your heart. (Quick clean up tip: cover your cookie sheet with saran warp.)


Shake off the excess birdseed.


Tie on your ribbon and hang in your tree!

Related Posts Plugin for WordPress, Blogger...